
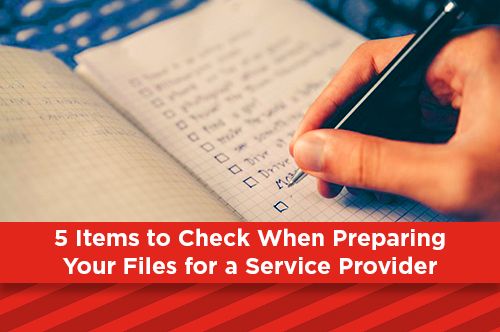
Your project is completed and ready to be sent to your service provider. But is it really? Here are 5 things to check to make sure. Click to download an easy to use checklist for your project.
1 Bleeds
Once a print job is completed, it is sent to bindery to be trimmed to its final size. Your project needs to have bleeds added around the edges so that when it gets cut down there is no white areas showing. To check your bleeds, look at each page carefully. Any images or boxes of color that are at the edge of the page need to extend over the edge by at least ⅛” and preferably ¼”. Also text needs to far enough from the edge that if there is paper movement, it will not be trimmed off. Keep text a minimum of ¼” away from the edge.
2 Check image colors
When sending your files for commercial printing, we would prefer that everything is in CMYK and not RGB. Most ripping software will convert RGB to CMYK, but the conversion may not look like what you want. Converting the images and colors yourself will give you more control. If your project has lots of images, you can use an action in Photoshop to batch convert a folder of images. Check your PMS colors and make sure they are set to process and not spot. In InDesign, using the swatch dialog box, you can easily see if a color is spot or process. Process colors will have a grey box to the right of the name, and spot colors will have a black box with a white circle. To change spot to process, double click the name, then choose CMYK under color mode in the dialog box, then choose Process under the color type.
3 Image resolution
Working with images for web it is safe to keep them RGB and 72 dpi, but if your project is being sent to a commercial printer, then all of your images should be in CMYK and 300 dpi. Many times images your take digitally will be 72 dpi but very large, up to 20 inches or more. These are fine to use if you place them in your document at a smaller size. A 20” 72 dpi image when placed at 50% will compress to 144 dpi when printed and an image placed at 25% will compress to 288 dpi. An easy way to check your final dpi in InDesign is to open the Info dialog box, Window>Info (or press f8). Here you can see the Actual PPI, which is the dpi of the image placed, and Effective PPI, showing the final dpi when exported. Try not to place an imagei over 110% of its original size. Doing so will degrade the image quality.
4 Create a Print Ready PDF with Bleeds
One of the final steps for preparing your files for commercial printing is to create a high resolution pdf with bleeds. Choose File>Export (press command+e), name your file and place where you can find it. Click the Format drop down menu at the bottom of the dialog box and select Adobe PDF (Print) then click Save. If you have downloaded and saved the PrintSouth PDF Export job option, choose PrintSouth PDF in the Adobe PDF Preset drop down menu. If not, choose High Quality Print and change these settings: Compression choose do not downsample and none for compression for color, grayscale and monochrome; Marks and Bleeds click the crop marks box and under bleed add .25 to each field. Choose export to complete this task. Once the pdf is complete, open it to double check it has crop marks and bleeds.
5 Collect for Output in InDesign
Though most service providers work with a PDF workflow, having the output, fonts and support files is helpful. Our blog post “Learning Adobe InDesign: Packaging Files for Print” gives you detailed steps on packaging your files. Once your files are packaged, zip them and upload to the service providers website or place them on a jump drive for easy transportation.
Stay up to date by subscribing to our mailing list.