
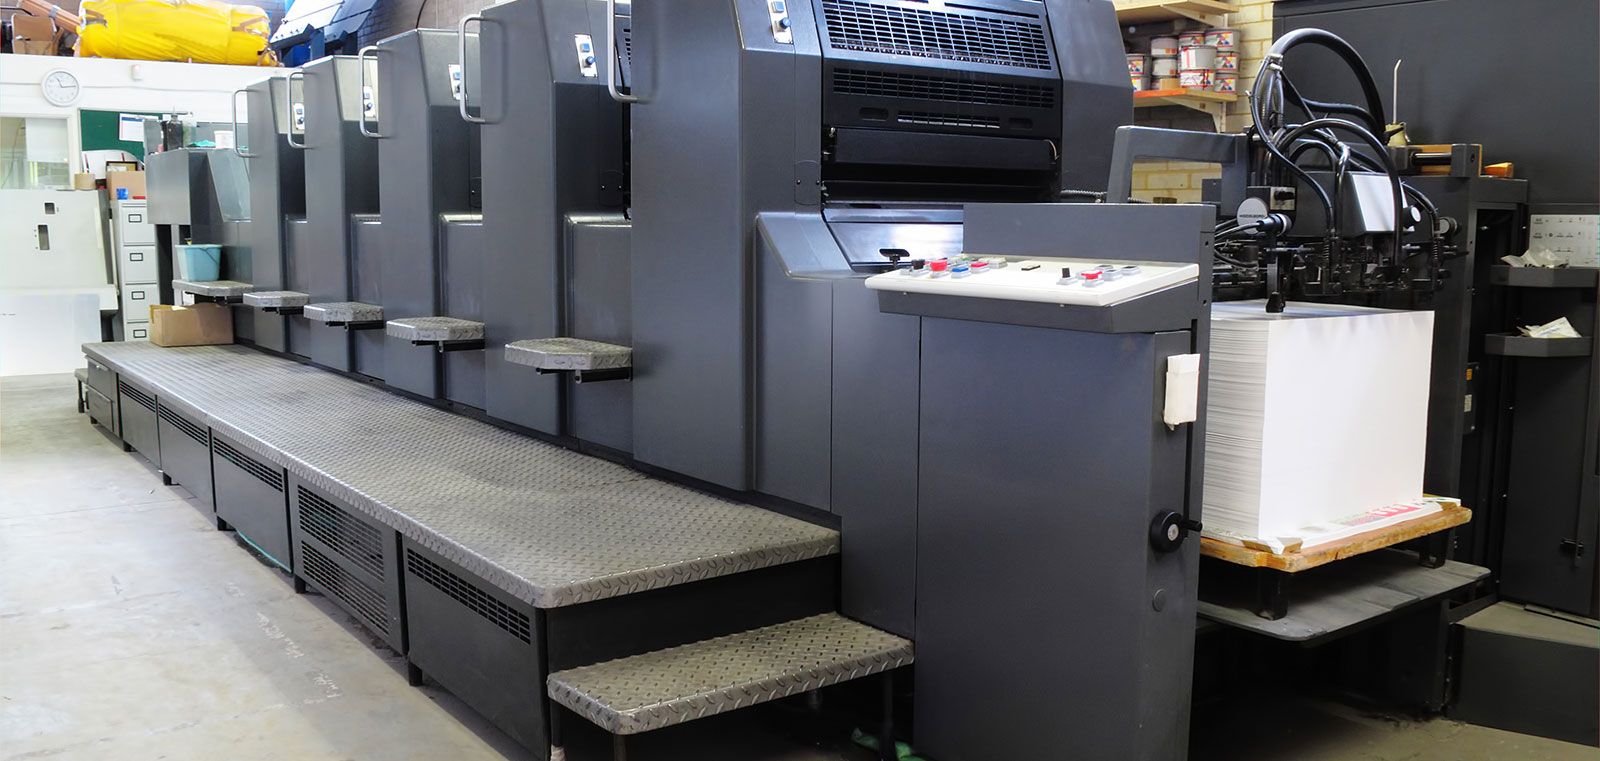
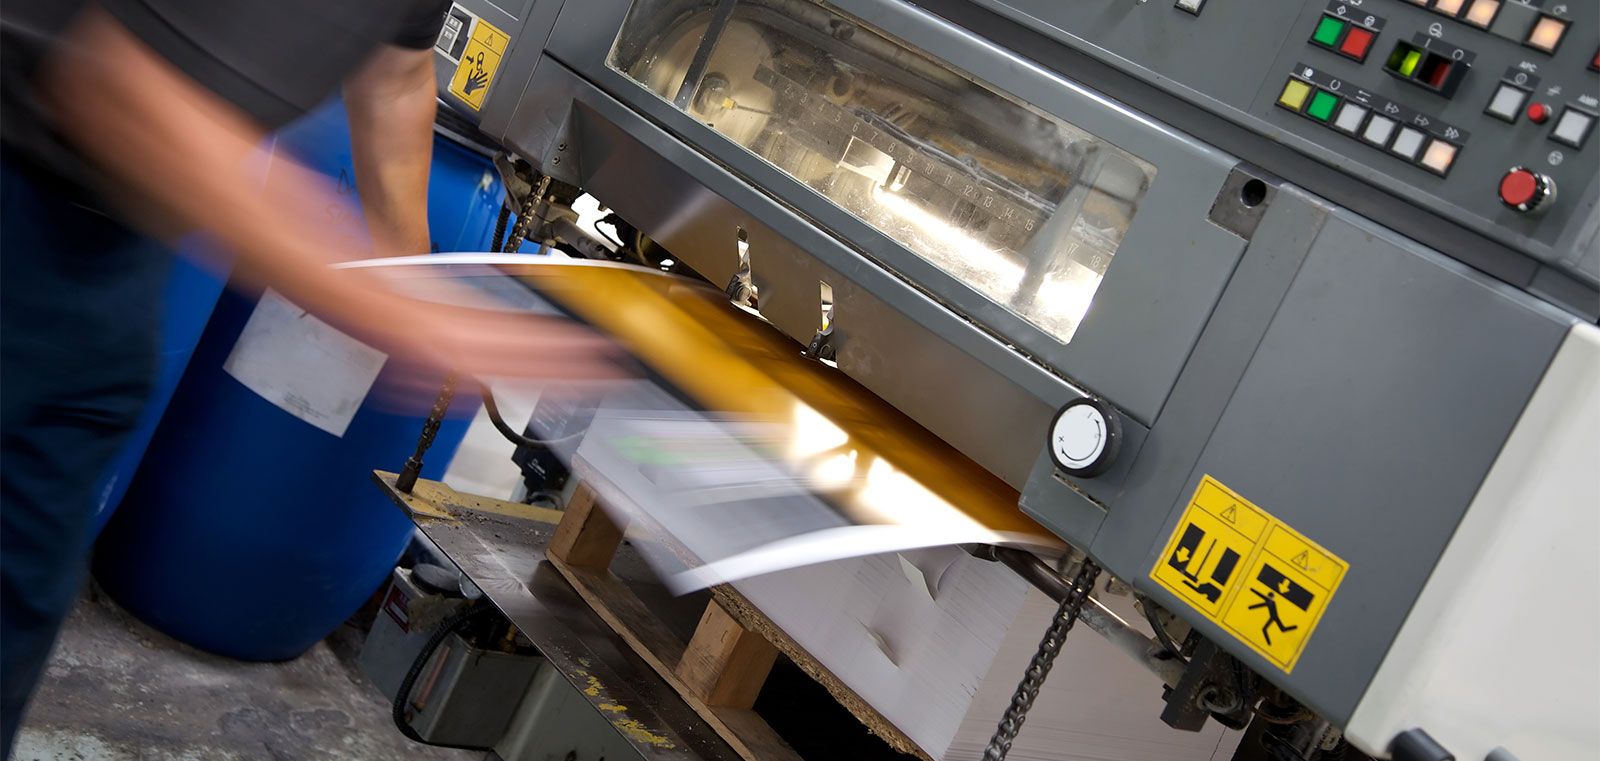


Batch process images
Converting one image using an action in Photoshop is no big deal, but if you have a folder of hundreds or thousands of images, batch processing that folder will make things go much quicker. This Photoshop tutorial will walk you through the steps of converting multiple images to the same color space.
STEP 1
Create a new action, use one of the premade actions or download and load an action from the internet
STEP 2
Open Actions window, choose new action to create an action. Name your action. These steps begin your recording of your action.
STEP 3
For this tutorial, we are changing an image from RGB to CMYK. Choose Image > Mode > CMYK
STEP 4
Choose File Save (command+S) then close the image (command+W) then press the stop button at the bottom of the actions list. Now your new action has been created.
STEP 5
To batch a folder with multiple images, choose File > Automate > Batch
STEP 6
In the batch dialog box, choose your action from the action list.
Destination choose none or save and close to save over or folder to choose a different folder to save the images to.
Choose ok.
Once all of the images have been converted, you can place them knowing that they are now all CMYK.
Click to download a pdf step by step guide to Batch Process Images in Photoshop.
Bonus Tutorial!
RGB/CMYK to Spot Color Logo
Many times a client will send in an RGB jpg image of their logo and want it printed in spot colors. We would rather have a vector logo, but this might not be available. This additional Photoshop tutorial will show you the steps to convert an image to have spot channel colors. Logos with solid colors work best for this, but with a little experience, you could do logos with halftones and gradients.
STEP 1
Open your logo and convert to grayscale.
STEP 2
Open your levels and drag your darkest triangle until your image is 100% black. If the logo has solid colors that touch, you will need to make different layers with each color being 100% black.
STEP 3
Select all and copy then delete, leaving a blank canvas.
STEP 4
Show channels and choose New Spot Channel. Pick the pms color for this channel.
STEP 5
Select the new spot channel and paste (make sure there are no selections on this new spot channel). You will see all of the logo in the spot color color with marching ants around it. Select the rectangle marquee tool and hold down the option key. Drag around the area that is not this spot color, deselecting it. What is left will be the spot color.
STEP 6
Follow the steps 4 & 5 to create the 2nd spot color. Repeat as necessary for as many spot colors needed for the logo.
STEP 7
Save the file as a Photoshop document (psd), making sure to select “spot colors” in the save portion of the dialog box.
For a visual step by step pdf guide on RGB/CMYK to Spot Color Logo, click here.
When the .psd file is placed in InDesign, and a high resolution pdf file is exported for your service provider, the logo will now be in spot colors making proofing and printing easier.
Stay up to date by subscribing to our mailing list.