
Adobe Acrobat has been around since the early 1990's. Today, Acrobat is part of the Adobe Cloud and is used by many different businesses including Commercial Printing Companies. In this article, we will look at the functions of Acrobat that are used by print shops.
Utilizing a PDF Workflow
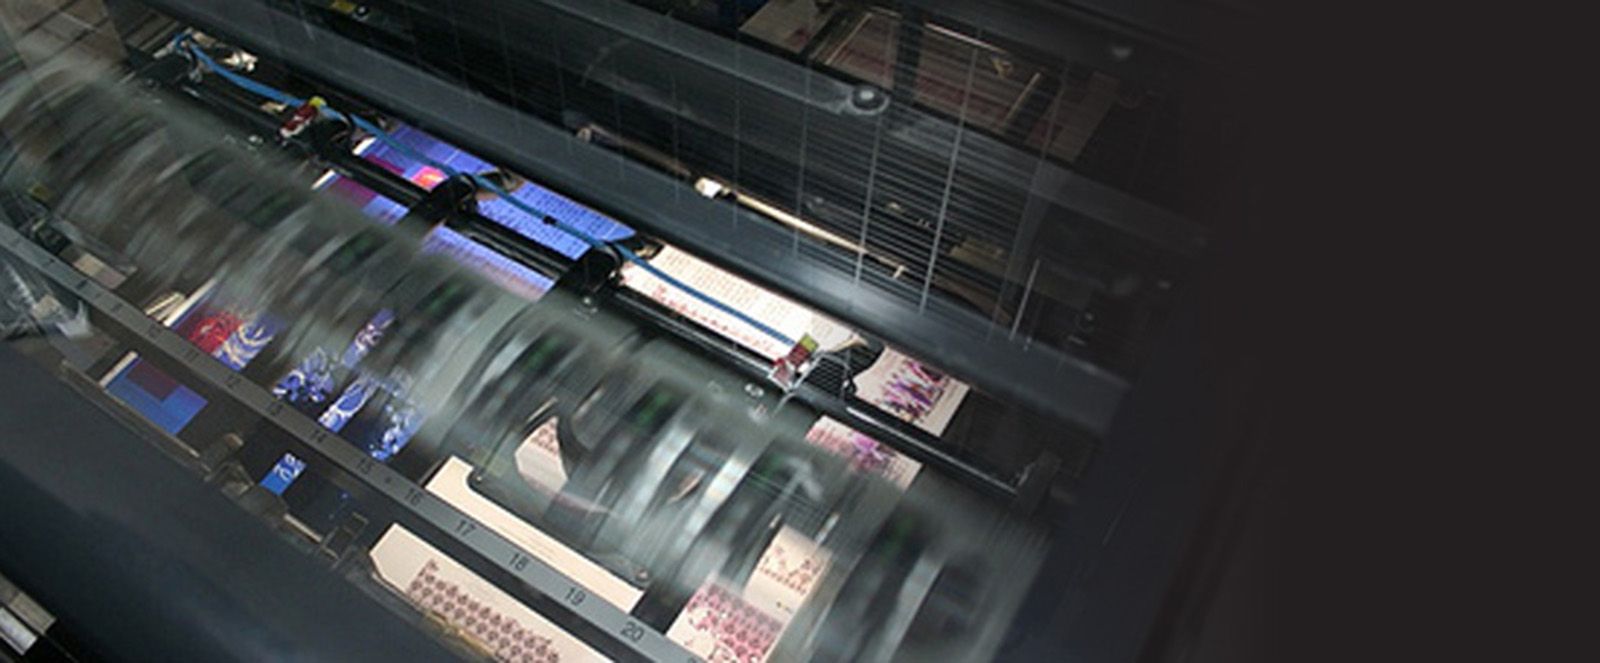
Here at PrintSouth Printing, we prefer to use a PDF workflow. This method allows you, the client, to send us a high resolution PDF file, with bleeds and marks, that we will use to produce a proof and create printing plates to print your job. Using a PDF workflow removes the possibility for font errors (including rewrap and font substitution), missing support files, and the need to send output documents. Although a PDF has limited correction abilities, we can still adjust some aspects of the PDF using tools included in Adobe Acrobat. To push our editing abilities further, we also use a plugin for acrobat called Pitstop.
There are certain drawbacks to using a PDF workflow. Because of limited editing capabilities, if there are corrections that need to be made to your file, a new high resolution PDF will be required from the client with the corrections made. You can include the output and support files with the high resolution PDF file when you upload to the service provider, but there is a chance of errors occuring.
Acrobat PDF Tools
Newer versions of Adobe Acrobat have tools included that will help in electronic prepress. Most notably are the Print Production Tools. This set of tools will help you edit a PDF, change colors, crop, and even adjust some trap settings.
Output Preview: using this tool will allow you to see any spot colors included in the PDF before going to proof. You can also turn colors on and off using this tool; this is nice to check that your black text is black only. Another nice feature is the Total Area Coverage that you can use to check ink densities. Checking the box, you can choose the limit of ink coverage. Anything over the selected number will appear in a color you have chosen. Any image with high ink densities, you can use the next tool to edit those.
Edit Object: this tool will allow you to select and move objects within the PDF. Right clicking an object with this tool, brings up a drop down menu. You can copy and paste the selected object to create duplicates. There is also an option to move the selected object through layers using the arrange function. If you have an image with high ink densities, you can use this tool to right click and choose Edit Object. This will launch Photoshop allowing you to edit the Gray Component Replacement (GCR) or Under Color Removal (UCR). Once the file is edited in Photoshop, save it and it will update automatically in Acrobat. Using Edit Object on a vector or type will launch Illustrator and you will be able to edit the selected file.
Preflight: this tool allows you to check the file for common errors and even correct the ones that are fixable within Acrobat. You can also create your own profile to check the the parameters of the file depending on your needs. For a printing company, we will check the PDF for images that are under 300 dpi, RGB images, transparency, line thickness, page size or page orientation is different from page to page and embedded fonts. Anything that gets flagged by Preflight needs to be looked at and fixed if necessary.
Convert Colors: if your PDF file has spot colors, or RGB colors that need to be converted to CMYK using the Convert Colors tool is an easy way to accomplish this. Click the Convert Colors tool to bring up a dialog box. If you want to convert the spot colors to CMYK, click Ink Manager and check the Convert All Spots to Process. Click ok and ok. For RGB images, launch Convert Colors dialog box, choose Image under Object Type, then Any RGB under Color Type. Next Convert to Profile and choose the Conversion Profile.
Flattener Preview: this tool allows you to flatten your PDF file. Usually files sent through a ripping software will not have issue, but if some occur, this tool is a good way to see where the issue is.
Save as PDF/X: if you need to convert your PDF to PDF/x, then this is your tool. If you don't know if you need to convert your PDF then ignore this tool. I do not believe I've ever had to use this tool. If you’d like to send me an email on how you use it, contact me at getsocial@myprintsouth.com.
Set Page Boxes: this tool allows you to adjust the CropBox, ArtBox, TrimBox and BleedBox settings. The CropBox refers to the entire page size of the PDF doc (an 8.5x11 page exported with crops and .125" bleed will have a CropBox size of 9.25x11.75). The ArtBox and TrimBox can both be the same, but if you need to change one, the TrimBox is most often the one you need to adjust. The TrimBox will be the final size of your page (the 8.5x11 sheet will have a TrimBox of 8.5x11). The BleedBox should always be larger than the TrimBox, as it includes the bleed area (the 8.5x11 sheet will have a BleedBox of 8.75x11.25).
If you receive a PDF file that is exactly the final size and needs to have crop marks added to it, use the Change Page Size section of the Set Page Boxes. Say you get a file that is 8.5x11 and you need to add bleeds and crop marks, change the page size to 10x12.5, be sure to have the center box checked, and the page range selected for the pages you need changed. Now your final page size will be larger with a smaller TrimBox that will be the final size of your print file. Use the Add Printer Marks to place the needed trim, bleeds and other marks.
Add Printer Marks: using this tool lets you place trim, bleed, registration, color bars, and page information to the outside of your print document. You should always have at least trim marks on the file(s) you send to a printing company. You can control the style and weight of the marks, but leaving them as default should work for most places.
Fix Hairlines: this tool allows you to automatically change a thin stroke into a thicker one. Choose the narrower than or equal to thickness of your line, select the replacement thickness size and hit ok. Now your strokes will be thicker. Super thin lines may show up on a PDF file, but sometimes get lost when the file is sent through ripping software.
Ink Manager: this tool allows you to adjust the colors of your PDF file. If an ink needs to have a heavier density for trapping, you would change it here. You can also convert spot colors to CMYK using this tool, or create ink aliases. An ink alias will allow you to take a spot color and assign it to another color. This is helpful if you receive a file that contains two of the same ink colors, one is coated and the other is uncoated. Use Ink Manager to select the unwanted color, then choose Ink Alias and select the color you want it to be, click ok.
Trap Presets: unless you work at a printing shop, or had someone at a printing shop specifically tell you to adjust the traps in Acrobat, do not adjust anything in this tool. Most ripping software will use its own trap settings and bypass traps set in Acrobat.
Other Adobe Acrobat Tools Used for Print
Optimize PDF: this tool will allow you to reduce the file size of a PDF document. If you are trying to email a PDF and it is too large to email, choose Reduce File Size for a more manageable size.
Edit PDF: using this tool you can add text and images to your PDF document; place a watermark over your page; add/remove page numbers; and adjust headers and footers.
Review and Approve: this tool is helpful for making comments on a PDF proof. Using the Add Sticky Note, you can place a note with copy explaining a change or correction. The Highlight Text tool will select copy and allow you to comment on the selected type. If you right click the comment box of the highlighted text, you can change the color of it.
Any of the tools in Acrobat can have a shortcut created in the menu bar. Simply select the tool you want a shortcut of, and drag to the menu bar of Acrobat. If you want to delete a tool shortcut, click and drag the tool down and release.
With the implementation many tools that benefit the graphic design community as well as the offset printing industry, Acrobat has become an industry standard for PDF creation and modification. If you have access to Adobe Cloud, download and utilize this powerful application.
Stay up to date by subscribing to our mailing list.